
The Multi-Use Kitchen Tool
It's simple, it stacks and real-world use has revealed additional applications beyond the initial design intent.

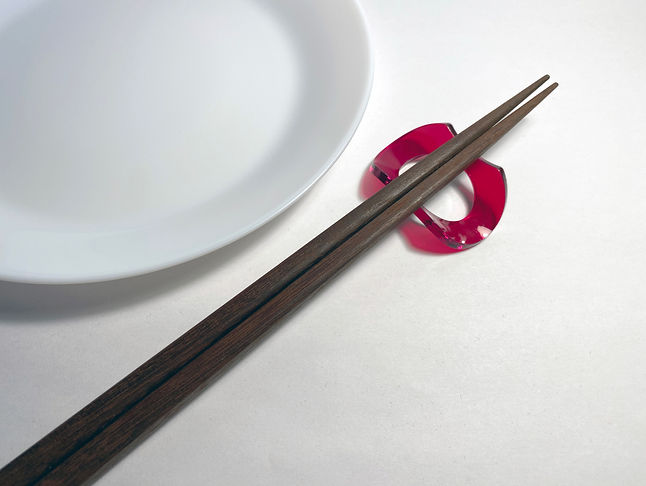
The Hashioki +
Easy to make, easy to use. Simple tableware for simple needs.

As part of a four-person team, I helped design and manufacture a simple chopstick rest. Most of the project involved learning by doing, and we failed often and early in the process.

The Making Of
Most of my effort for this project was around the manufacturing of our design. The end product was simple enough, but the mold was a bit more complicated to figure out. The biggest challenge that emerged during manufacturing was devising and making effective parts for the mold.
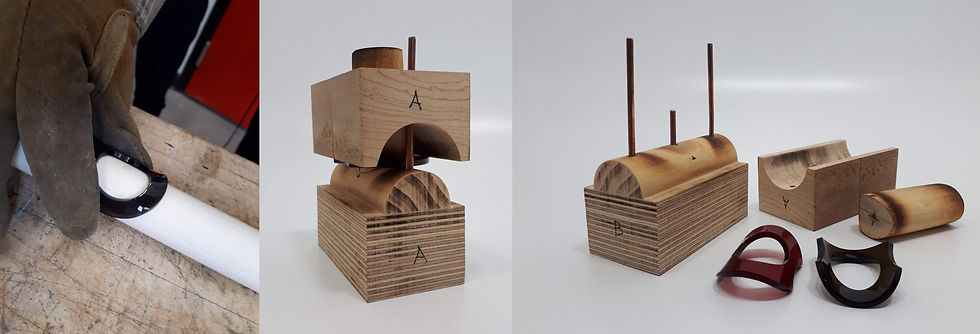
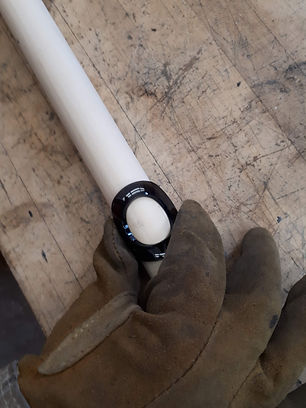
It started with testing a proof of concept. We made a handful of simple designs, partly to test out how they'd be made and partly to test the usability of our design. The image to the right shows one of the early concepts. We molded laser-cut parts by hand, using a heat gun to soften the acrylic and then bent the shape around a wood dowel.
Biggest problem from testing: symmetry during the pressing process.
Solving that issue was the core driver behind the final mold design.

The Three-Part Mold
1 Top half of mold [wood]
2 Bottom half of mold [wood, epoxy]
3 Guide core [wood]
4 Guide post for the guide core [brass soldering wire]
5 Guide posts for top half [brass soldering wire]

Making the top half of the mold (1).

Blanks were cut from acrylic sheets using a laser cutter. The videos on the right show some of the shapes we experimented with during prototyping.

The guide core (3) had to match the cutout on the blanks, so finding the best fit (because it wasn't a perfect circle) required the creation of a few different prototypes. The bottom half of the mold (2) was glued together with epoxy so it wouldn't come apart under heat stress during molding.

The manufacturing process: simply load the blank using the guide core (3), then use a heat gun to heat the blank. Once the blank began to "droop" a bit, add the top half of the mold, remove the guide core and then gently press down on the top half, shaping the blank.

There was a learning curve involved with forming the blanks into the products we wanted. Notable issues:
1
2
3
4
The curve on the underside was too flat, because when I tried to level out the "prongs," I freehanded it and pressed too hard, which deformed it slightly.
The wood grain from the mold is imprinted in the plastic, because the top half of the mold was pressed too hard into the blank during forming.
The inner edges are slightly blown out because the guide core was left in as the freshly formed blank was cooling. This meant that it deformed slightly as it shrunk around the guide block.
Bubbles caused by holding the heat gun too close to the blank.

Manufacturing Notes
Initially, it took around four minutes to heat and press a blank into shape. I was able to cut that down to three minutes after figuring out how to better control the heat gun. The most time-consuming step was heating the blank so it could be pressed.
The key to not forming heat bubbles was to keep the heat gun, set to 600°C, constantly moving at about the same distance you would hold a hairdryer from your head.
The colour of the acrylic probably impacted the manufacturing process, i.e. the black acrylic blanks were consistently less prone to errors and heated up faster than the red ones.
If I were to make another jig for this project, I would make a family mold that more accurately held the blanks, that way they'd always come out of the mold without the need for levelling. (Sometimes the pressing motion used to shape blank shifted it slightly, so the four prongs had to be corrected freehand.)


